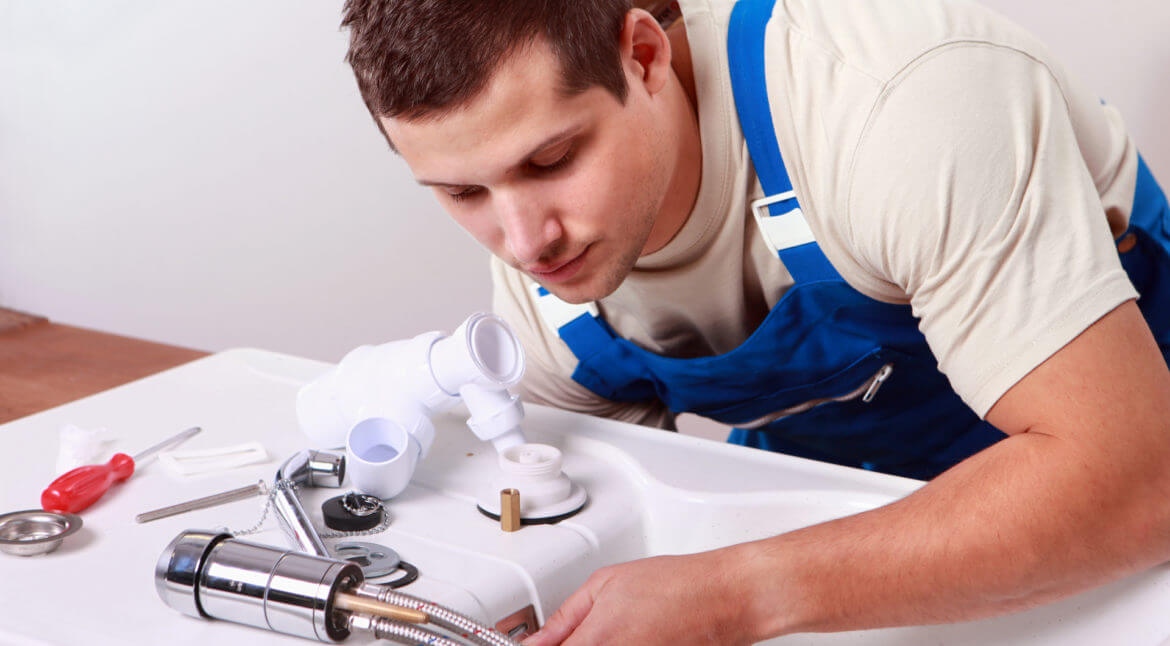
For the aspiring plumber, fixing a clogged sink can be a good start. Aside from determining the common causes of such problems, you also have to know the basic sink drain parts so you know where exactly to start. It’s vital that you are aware how these parts fit together and how they work individually.
Pipes and Parts of a Sink
- The pop up assembly is used for the bathroom sink.
- The sink strainer is usually placed on a hole at the bottom of a sink. It strains all food particles and foreign objects like hair to avoid clogs. It seals the opening and it also directs all the water down the pipes.
- The P trap is made of a two piece fitting that allows water to stay at the bottom to avoid the gas from the sewer from entering the house.
- The S trap is very similar to the P trap, and it is used when the drains are located on the floor.
- The coupler is used to join two pieces of pipes together which can extend the length of a pipe.
- The tailpiece is directly connected to the kitchen strainer.
- The tee literally looks like the letter “T”, it’s a pipe that is commonly used for double kitchen sinks.
- The waste arm is shaped like a reversed L which connects the tailpiece and the tee to the sink. There are usually two waste arms present.
- The extension tube, like the coupler, is used to extend short tailpieces. The difference is, the latter is shorter than the extension tube.
When it comes to Installing or replacing a faucet, it can be straightforward if you have the right tools at hand.
Here are the steps to do it.
Step 1. Inspect the openings. Probe the sink for openings and their distance together. Bathroom faucets, in particular, have two handles that may be connected to the spout to form a single unit, or they may be set up apart. This information will be helpful for proper faucet installation or replacement.
Step 2. Turn off the water supply. There are generally two valves for water supply, one for hot water and another for cold. Turn them off by twisting the valves clockwise to stop water from running in the tubes.
Step 3. Put the faucet replacement in position.
For proper faucet installation:
- Start by positioning the gasket and the faucet on the sink.
- From beneath the sink, thread the mounting nuts into the shanks. Make sure that the flat, wide side part of the mounting nut is up.
- Screw the mounting nuts tight but not too tight to damage it or make it difficult for future replacements.
Step 4. Connect the water supply. Water is typically supplied by the water-supply tubes. To connect it properly, make sure you take note of the following steps.
- Cover the threads of the water supply valve with plumbers tape.
- Thread the nut into the shut-off valve and secure with a wrench.
- Wrap the faucet shanks threads with plumbers tape and thread the water supply nut against the faucet shanks.
- Secure the nut with a wrench.
Step 5. Clean the faucet by flushing. Make sure that the water supply is clean by running water into the faucet to flush trapped debris off of it. Trapped debris can impair the sealing surfaces inside the faucet and trigger leaks.
- Open the water supply valves beneath the sink.
- Let water run for 15 seconds to remove residues and trapped particles off the tube.
Helpful Tips:
- Plastic fittings are more convenient to work with rather than brass or metal.
- Take some measurements before removing any sink and installing a new one.
- If you need to replace some parts, make sure you distinguish these correctly before purchasing a new one.
- Having a hard time determining what’s broken? Sketch it. It’s easier to show the person at your local home depot how it looks like if you can’t really identify what’s broken.
Don’t just hit or miss. If you have doubts, call in our local Boston MA plumbers at (855) 550-9911 to help you install, replace or fix any sink accurately!


